執筆バージョン: Unreal Engine 5.0
|
今回はBlueprint上で使えるRotator系のノード一覧と使い方をまとめてみました。
表の内容は全てバージョン5.0にて検証しています。
公式ドキュメント Unreal Engine 5 Documentation Rotator
・Make Rotator / Break Rotator
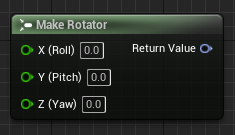
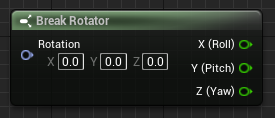
Roll/Pitch/Yawを指定してRotatorを作る。 | RotatorをRoll/Pitch/Yawに分解する。
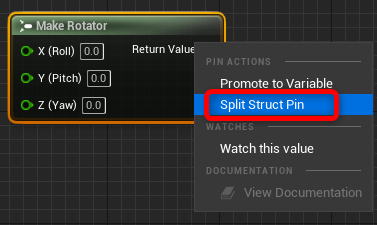
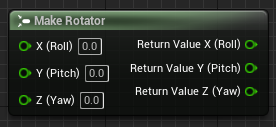
角度で指定・分解ができるので使いやすいのですが、現バージョンのUE4ではRotatorのPinにマウスカーソルを合わせ、Split Struct Pinをクリックするとこのノードを用いずともRoll/Pitch/Yawに分解できてしまうため、好みでご使用ください。
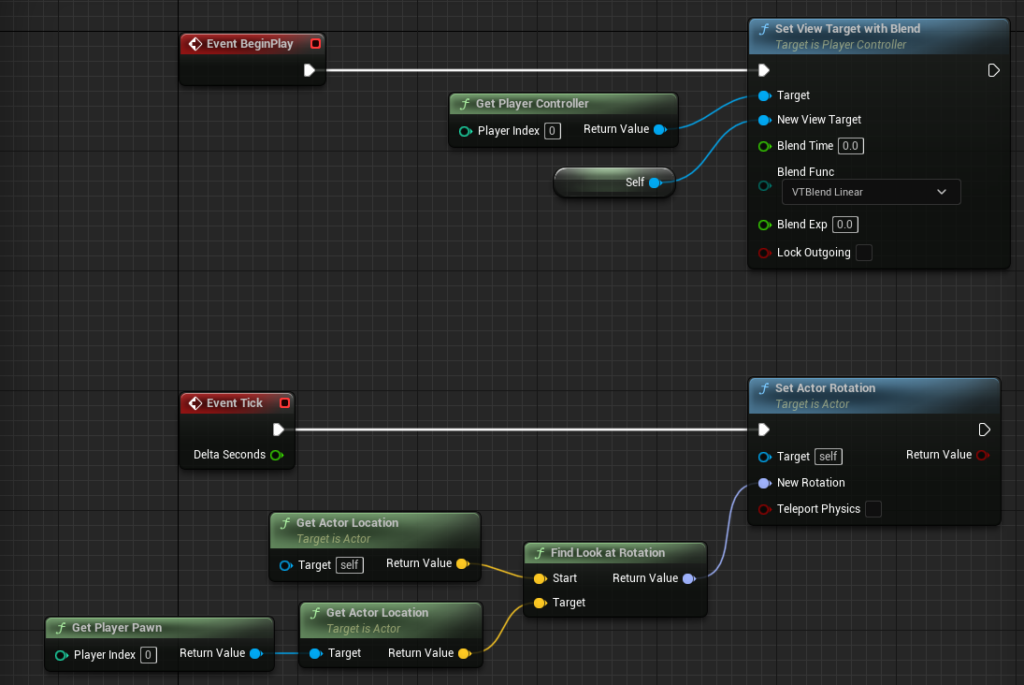
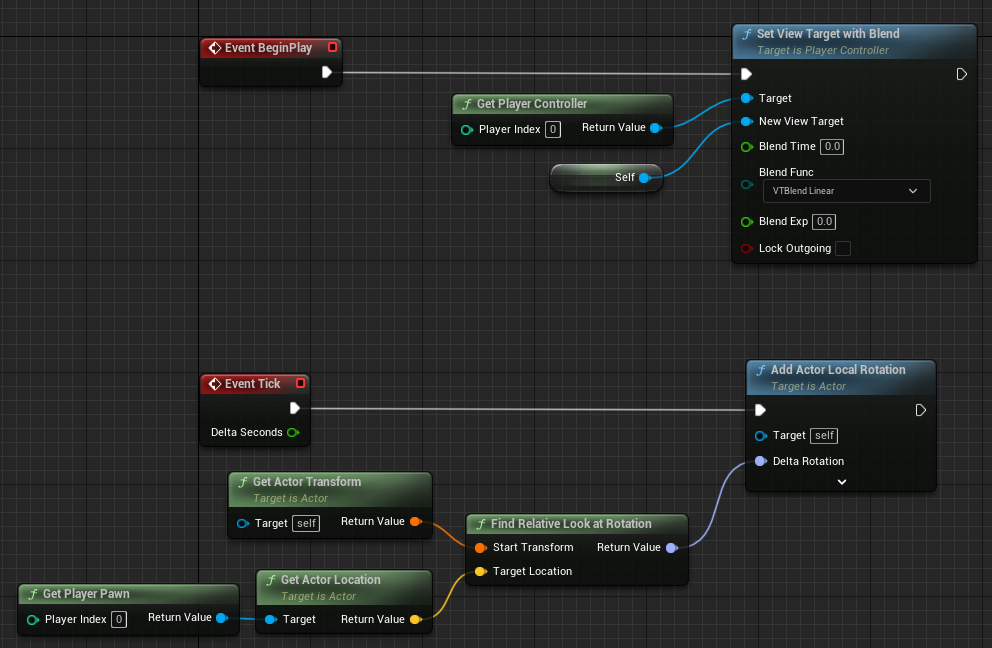
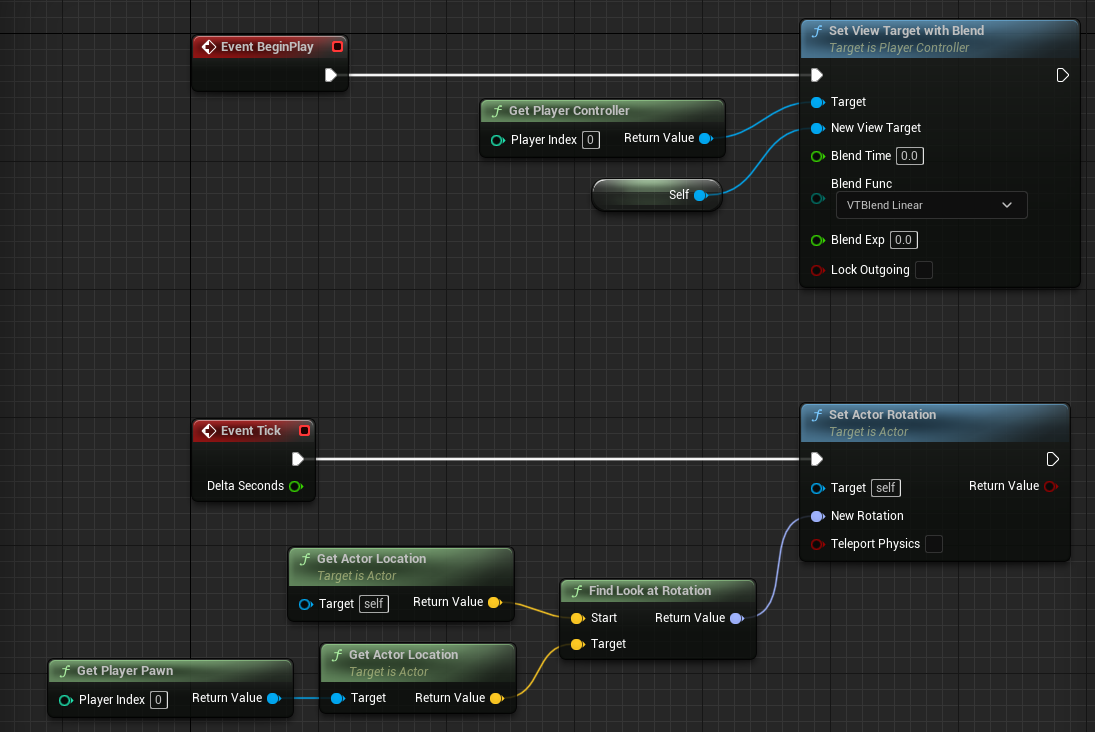
・Find Look at Rotation
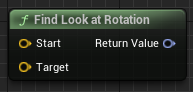
StartとTargetのワールド座標をVectorで入力すると、Rotationの値が(0, 0, 0)の時にX軸正方向を向くアクターが、Target方向を向くためのRotationが作られる。
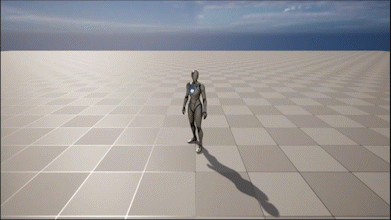
Camera Actorを継承したブループリントを作り、以下のようなブループリントを書くとプレイヤーが動いても常にプレイヤーの方向を見続けるカメラが作れます。
・Find Relative Look at Rotation
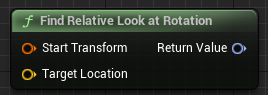
StartのTransformとTargetのワールド座標を入力すると、Startの向いている方向からTargetへ向くためのローカルRotationが作られる。
Camera Actorを継承したブループリントを作り、以下のようにブループリントを組むことで、1つ上の「Find Look at Rotation」と同じ挙動をするカメラを作ることができます。
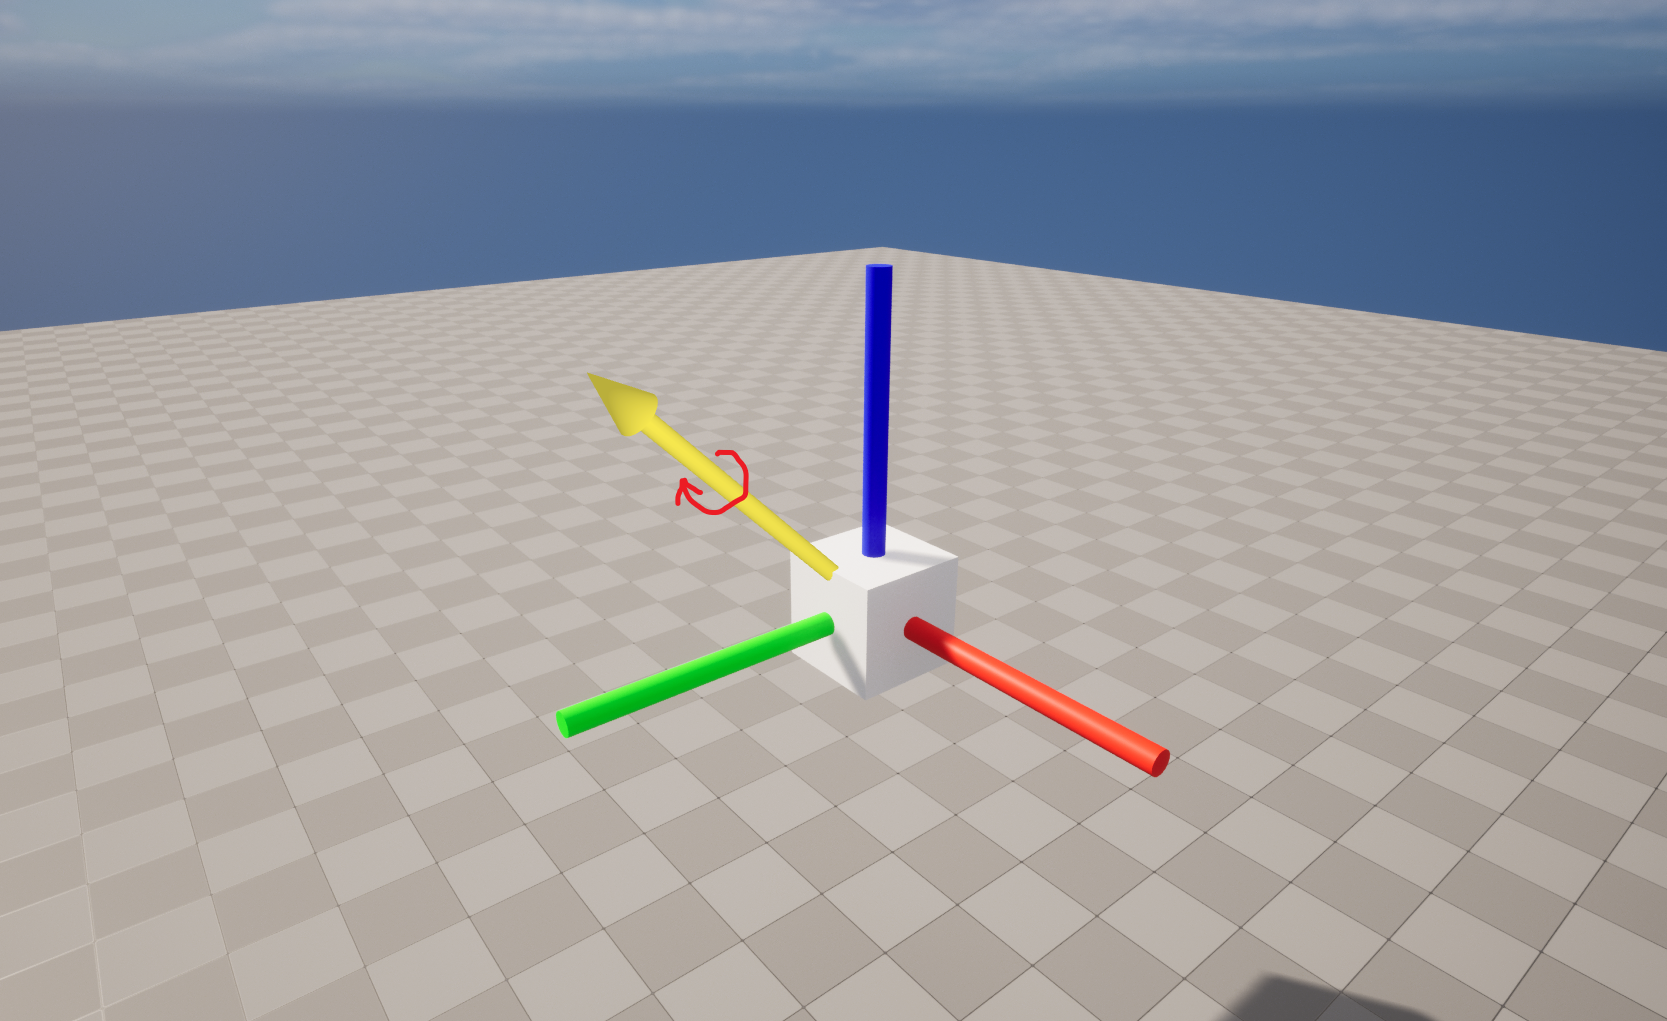
・Rotation from XVector
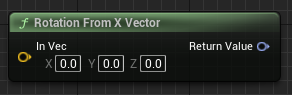
X軸の方向ベクトルを元にRotationを作成する。ベクトルをRotationに変換するのに使える。
このノードで返ってくるRotationはYawとPitchのみで表現され、Rollの値は常に0になる。

黄色がIn Vecの方向ベクトル、赤色がX軸。
X軸がIn Vecの方向ベクトルと並行になるようにRotaitionを作成する。
・Make Rotation from Axes
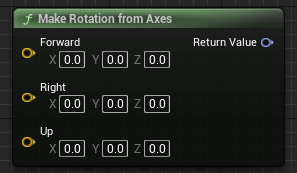
3軸指定してRotationを作る。入力するVectorは中で正規化されるので事前の正規化は必要ない。
Roll/Pitch/Yaw全て計算される。
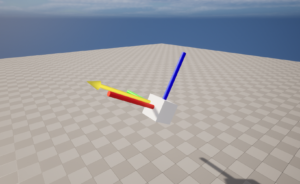
・Rotator from Axis and Angle
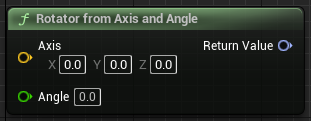
ひとつの軸と角度を指定してRotationを作る。軸は正規化する必要がなく、角度はデグリーで指定する。
内部では一度クオータニオンに変換し、それをさらにRotatorに変換して返している。
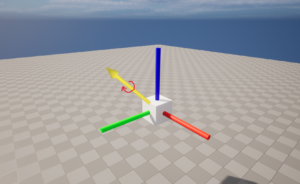
黄色がAxisの方向ベクトル。
Axisを軸にして、緑の矢印の向きにAngle度回転させる。
・Make Rot from X・Y・Z XY・XZ・YX・YZ・ZX・ZY
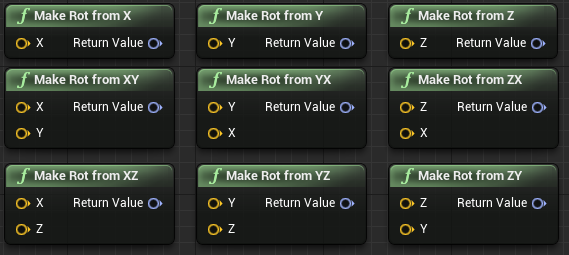
1軸もしくは2軸を指定してRotationを作るノード。指定しなかった軸は自動計算で求められる。
1軸指定の Make Rot from X は Rotation from XVector とほぼ同じRotationが求められる。
↓10万回ランダムに求めた同じベクトルからMake Rot from X / Rotation from XVector のそれぞれを用いてRotatorを作り、2つのRotatorがNotEqualだったらHelloという実験
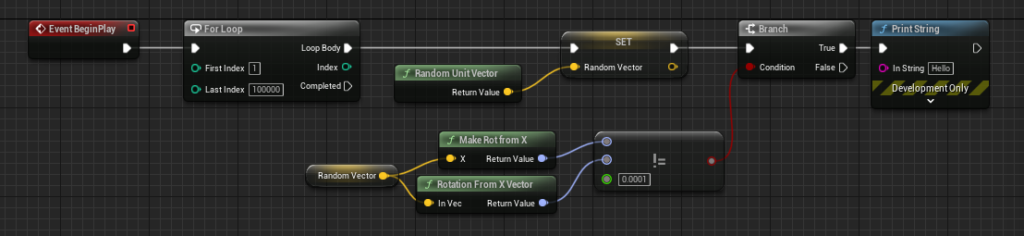
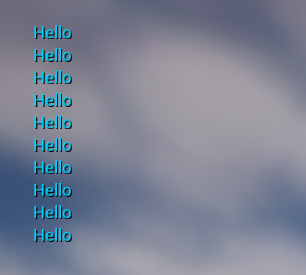
10万回のうち10回前後がNotEqualなRotatorとなるのみなのでほぼ同じ結果といえる。
2軸指定の Make Rot from ノードは初めに2つの軸が垂直に交わっているか調べ、垂直でなければ1番目に指定した方の軸のみを使ってRotatorを生成する。
2つの軸が垂直であった場合は、2軸を使って残りの1軸を求めてからRotatorを生成する。
・ Break Rot Into Axes / Get Axes
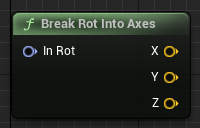
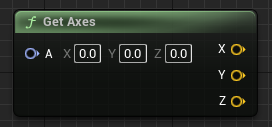
RotationをX・Y・Z軸の方向ベクトルに分解する。 Rotationから3軸(X・Y・Z軸)を取得する。
中で行われている計算は同じなのでお好みで好きな方を使いましょう。私は Get Axes が好きです。
・ GetRotationXVector

Rotation適用後のX方向ベクトルを取得する。RotationをVectorに変換する意図で使って問題ありません。
内部でもConv_RotatorToVectorという名前の関数を使っています。
・ CombineRotators
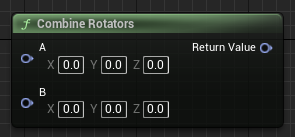
2つのRotationを組み合わせた結果を返す。Rotatorの合成や単純な加算にはこれを使う。
このノードを使わず回転する方法に↓のようなものが考えられますが、
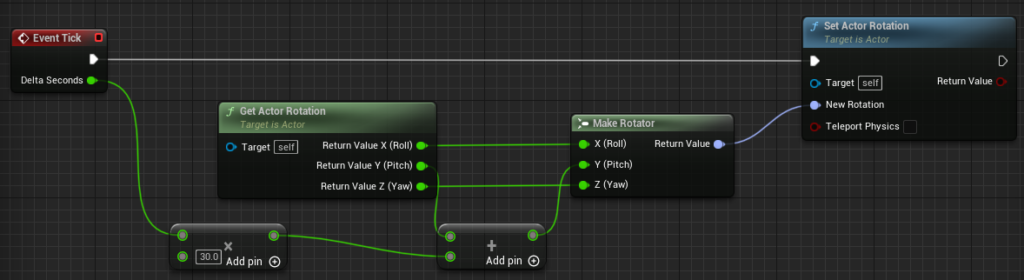
この方法だとPitchを90°回したあたりで全く回転しなくなります。恐らくジンバルロックを防ぐためのUE4の仕様です。
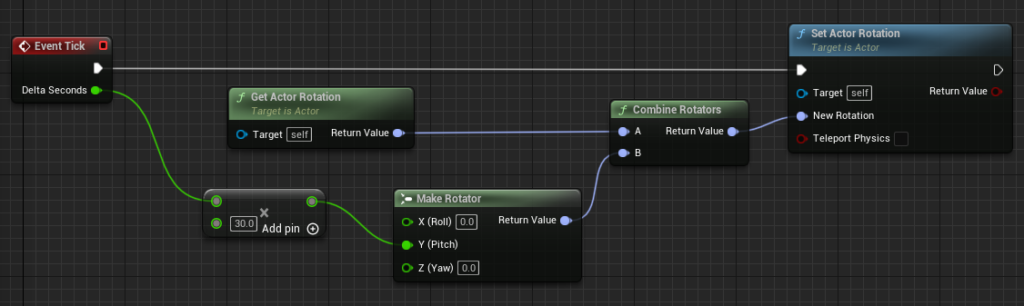
90°を超えて回転させたい場合にはCombine Rotatorsを使います。
・ Delta (Rotator)
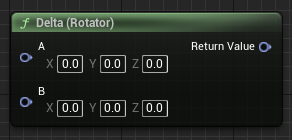
2つのRotationの差分を正規化して返す。
・ Multiply (Rotator)
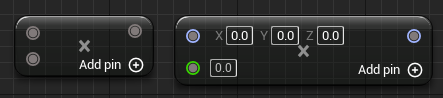
Rotatorの各成分Roll・Pitch・YawそれぞれにFloatの値をかける。
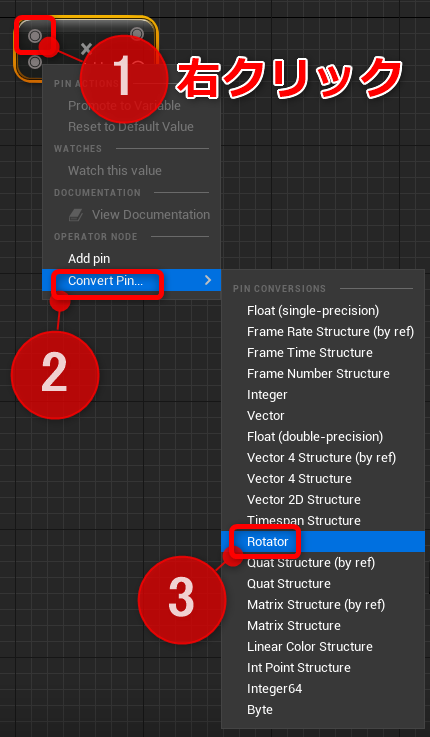
このノードを出すには、Multiplyノードの入力ピンを右クリックして、入力ピンの型をRotatorにします。
・ Equal (Rotator)
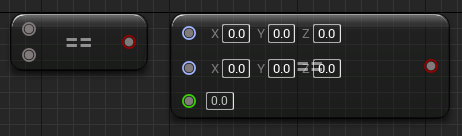
2つのRotationが等しい場合trueを返す。Roll・Pitch・Yawの成分全てがFloatで指定した誤差範囲より小さければtrueが返る。一つでも誤差範囲を超えていたらfalseが返る。
Multiplyノードと同様の手順でEqualノードの入力ピンの型をRotatorにします。
・ Not Equal (Rotator)
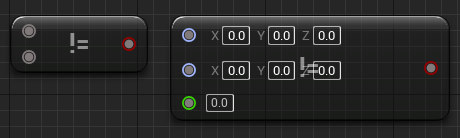
2つのRotationが等しい場合trueを返す。Roll・Pitch・Yawの成分それぞれを比較し、一つでも指定したFloat値の誤差範囲を超えていたらtrueが返る。全てが誤差範囲より小さければfalseが返る。
Multiplyノードと同様の手順でNot Equalノードの入力ピンの型をRotatorにします。
・ InvertRotator
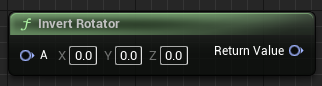
Rotationを反転させる。
内部では、Rotatorを一度クオータニオンに変換する。 → そのクオータニオンで軸を表すX,Y,Zの各値の符号を反転させて新たなクオータニオンにする。 → クオータニオンからRotatorに変換するという処理を行っている。
・ (Rotator) / Ease
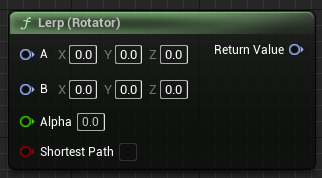

2つのRotatorを補間する。 Shortest Pathにチェックを入れると最短のルートで補間される。
Lerp(Rotator)はいわゆる線形補間で、Alphaの値によって補間される。EaseノードのFunctionからLinearを選んだ場合と挙動は同じ。
EaseノードはAかBのPinにRotatorをつなぐとRotator用の補間をするEaseとして働くようになる。Functionの種類によって14種類の保管方法がある。詳しくはEaseの記事にて。
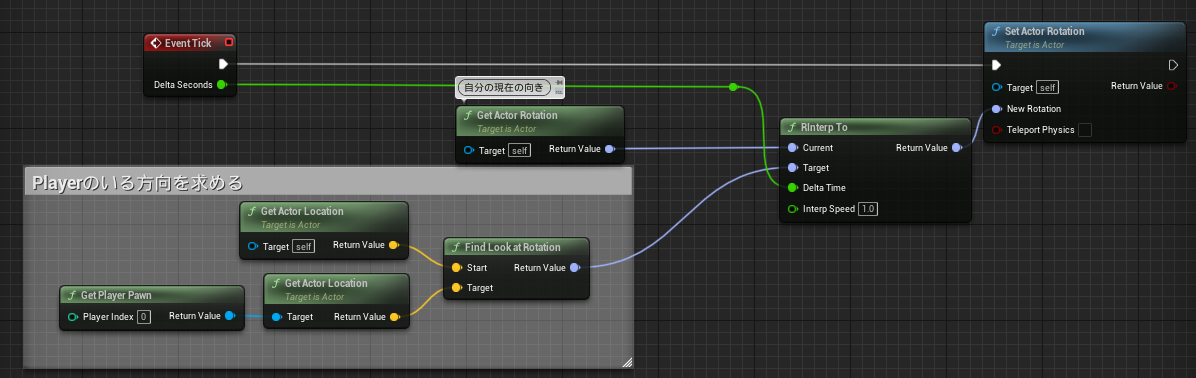
・RInterp to / RInterp to Constant
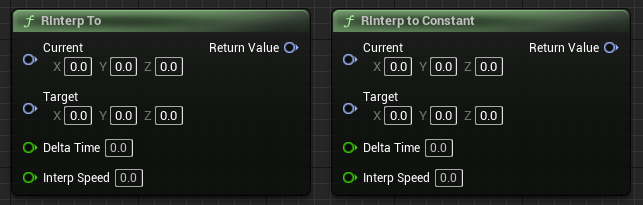
徐々にターゲット方向を向くためのRotatorを計算してくれるノード。
Camera Actorを継承してブループリントを作り、EventGraphに以下のように書くと、プレイヤーをゆっくりと追い続けるカメラが作れる。

Constant の無い方は滑らかに Target に向かうような動き方をし、Constant の付いている方は、Roll・Pitch・Yaw の各値がそれぞれ同じだけ Target に近づくため、向きによっては機敏になったり鈍くなったりする。
使い分けが必要ですが、基本的には RInterp to の方が扱いやすいです。
・RotateVector
VectorをRotatorで回転する。
・UnrotateVector
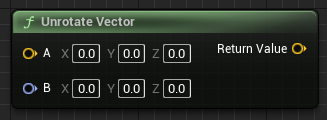
VectorをRotator分、逆に回転させる。
・Rotate Vector Around Axis
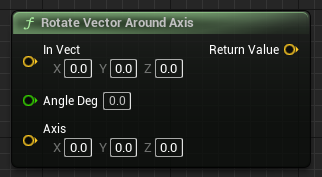
Vectorを指定した軸周りに指定角度分回転させる。角度はデグリー角で指定する。いわゆるQuaternionによる回転。
・Select Rotator
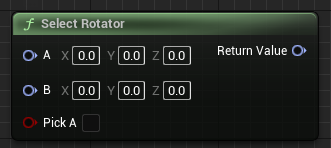
bool値により2つの回転のうち一つを返す。三項演算子のような感じで、うまく使いこなせばブループリントが読みやすくコンパクトになるかもしれません。
・Get Actor Forward Vector / Get Actor Right Vector / Get Actor Up Vector
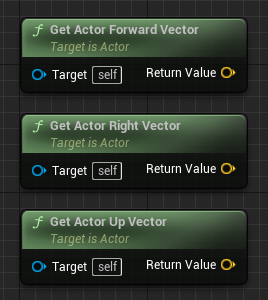
Actorのローカルな軸方向ベクトルが取得できます。
Get Actor Forward Vector = X軸
Get Actor Right Vector = Y軸
Get Actor Up Vector = Z軸


 [UE5]UnrealEngineでビットフラグを使用する方法
2026.03.11UE
[UE5]UnrealEngineでビットフラグを使用する方法
2026.03.11UE

 [UE5] レイトレシェーダーを追加してみよう
2026.02.25UE
[UE5] レイトレシェーダーを追加してみよう
2026.02.25UE
 [UE5]簡易的なタワーディフェンスを作ってみよう!
2026.02.13UE
[UE5]簡易的なタワーディフェンスを作ってみよう!
2026.02.13UE