執筆バージョン: Unreal Engine 4.27
|
こんにちはアーティストの天見です。
今回はVolumetric Cloudsの使い方を紹介していきたいと思います。
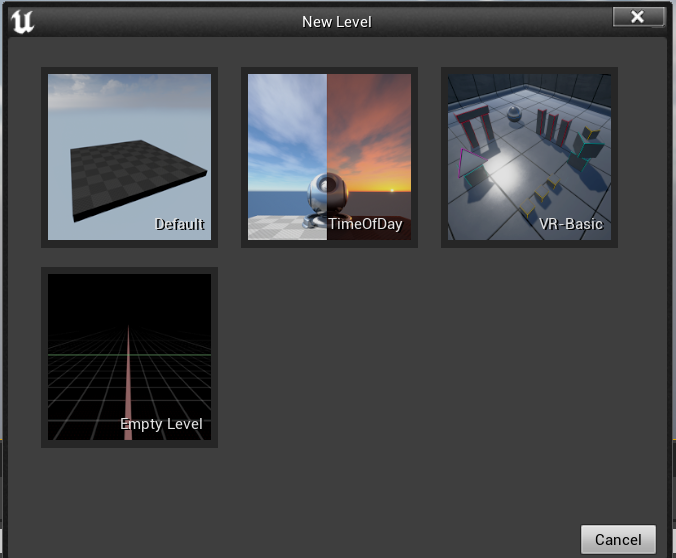
新規レベルの何もないEmpty Levelを選択してはじめましょう。
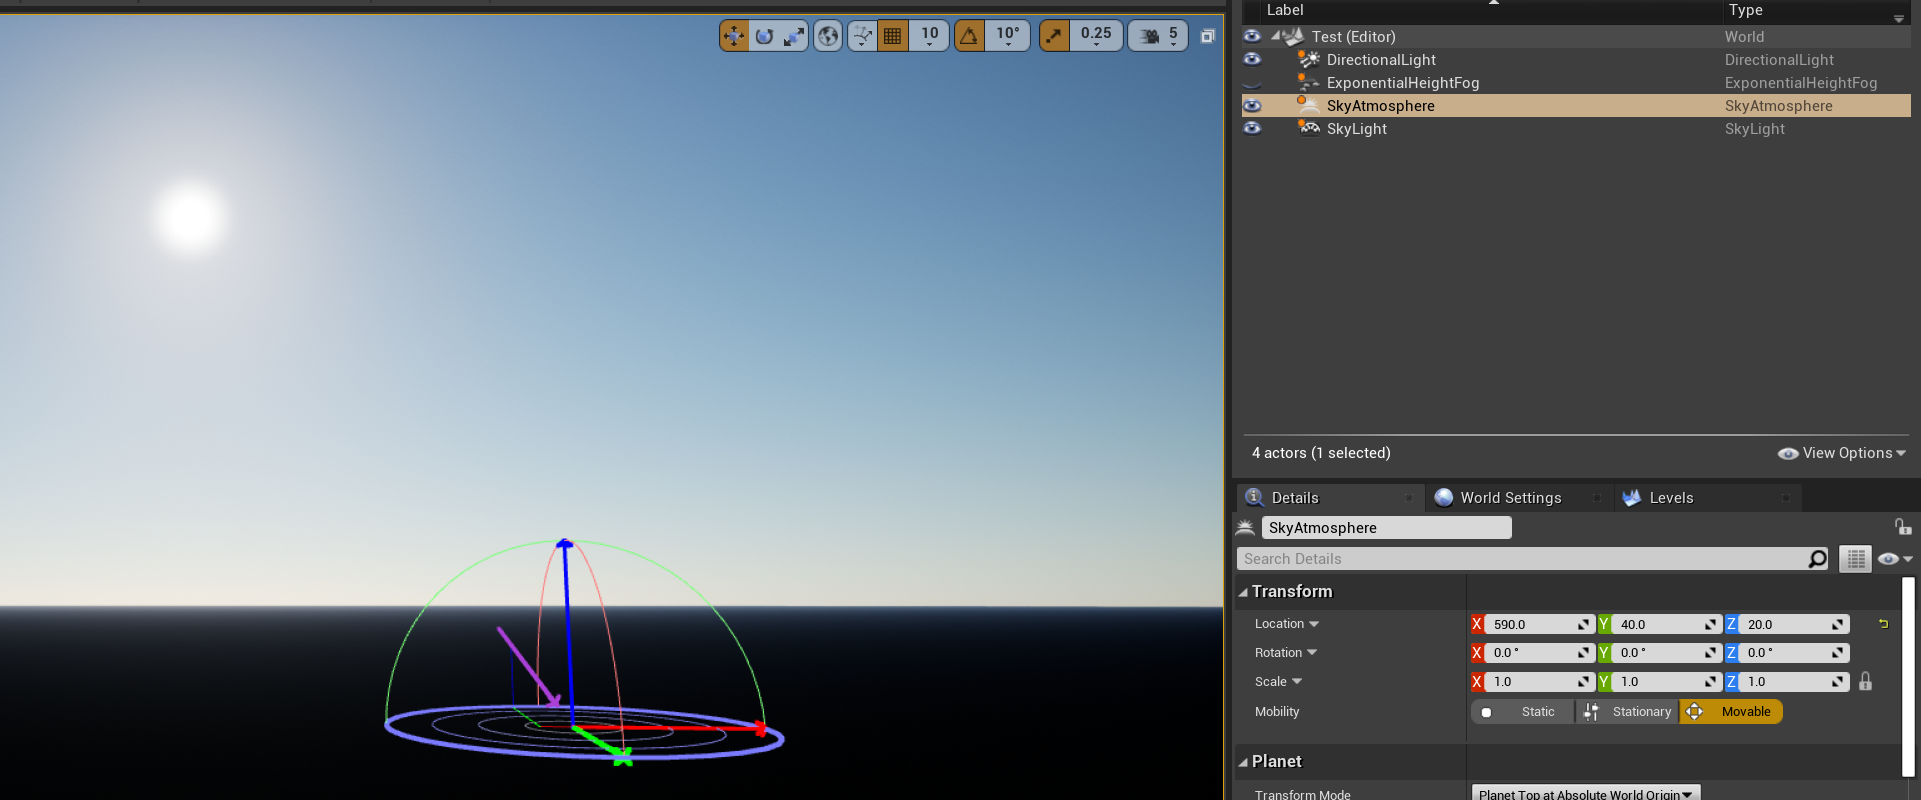
最初にシーンにライトを追加します。
Drectional Light
Sky Atomosphere
Sky Light
の3つを配置。
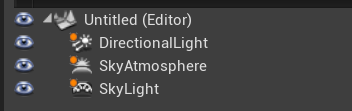
置いただけではまだ画面は真っ暗です。

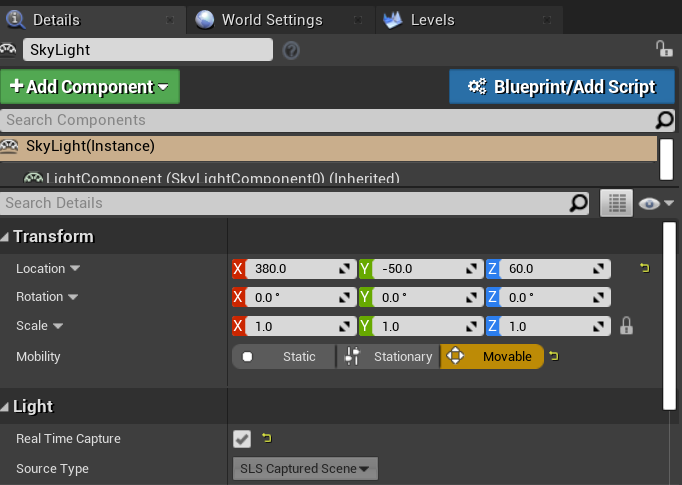
・SkyLight
Movableに変更
RealTimeCapture 有効
スカイライトの光の反射が太陽の位置でリアルタイムに変化します。
・DirectionLight
Atmosphere Sun Light 有効
SkyAtmosphereと連動させます。
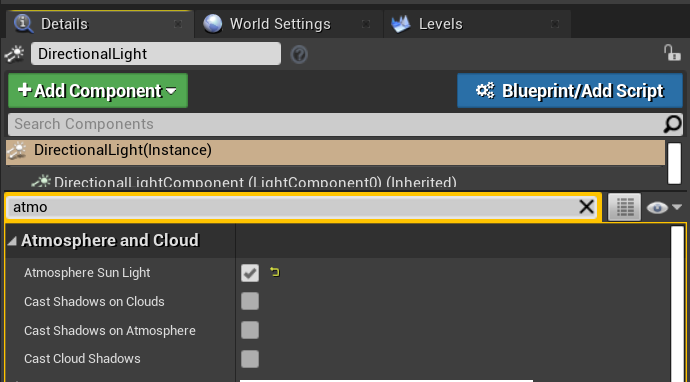
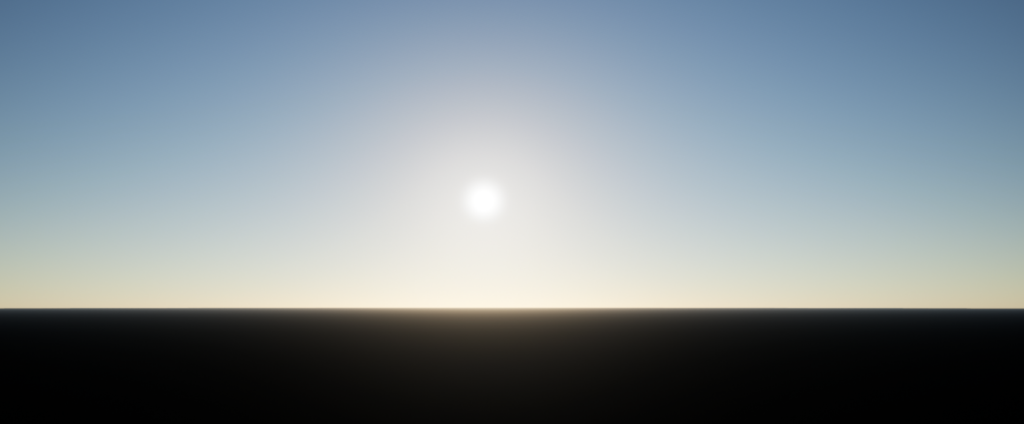
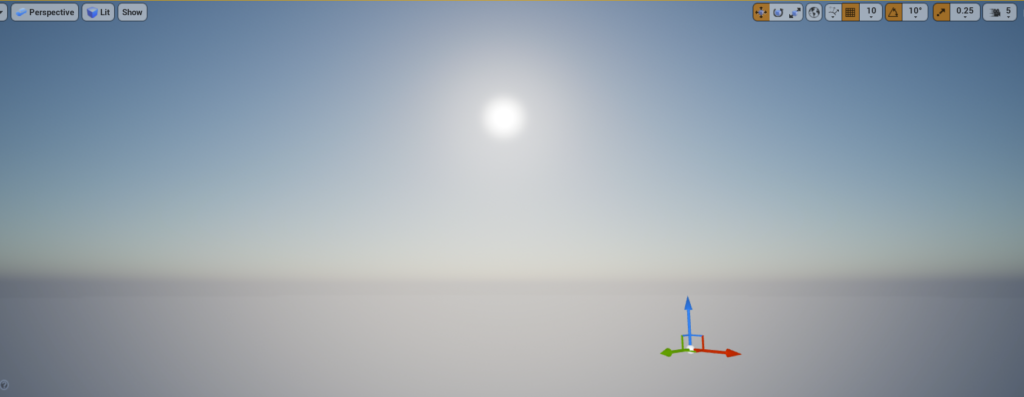
画面が照らされ太陽が見えました。
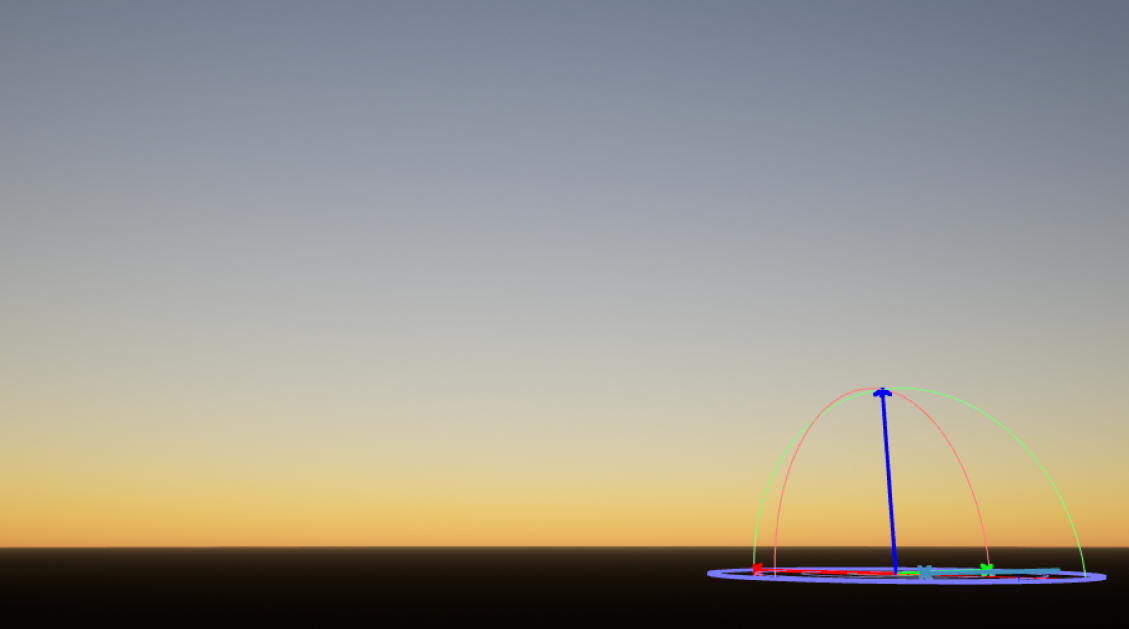
・太陽の移動
太陽を動かしたい場合は
SkyAtomosphereを選択して
Ctrl+L 押したままマウス動かします

角度を下げれば夕日の空も作成可能です。

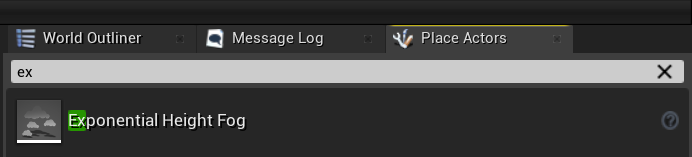
・Fogの追加
プロジェクト設定で
Support Sky Atmosphere Affecting Height Fog 有効

再起動したら、
Exponential Height Fog
を追加します。
Fog Inscattering Color
Directional Inscattering Color
を黒に変更。
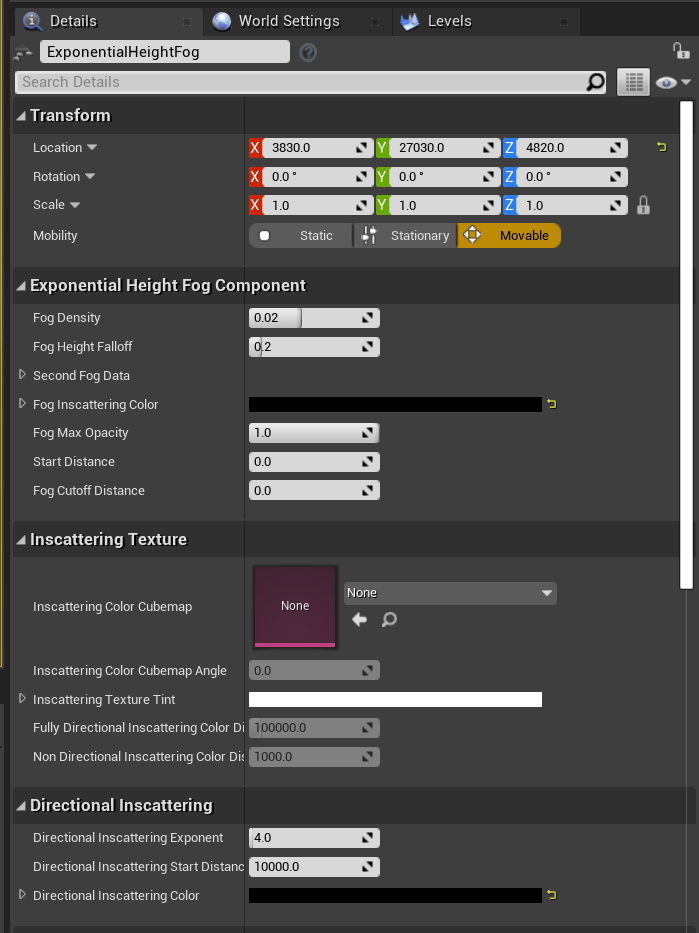
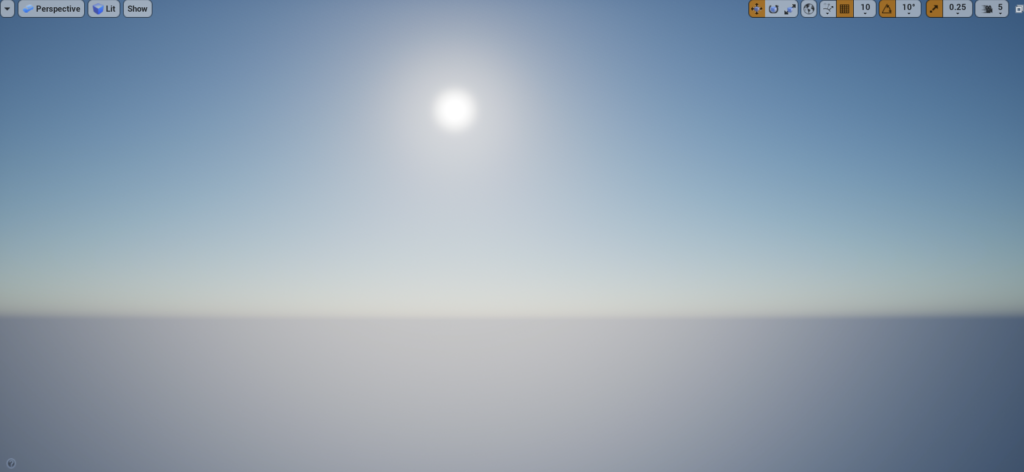
Fogが追加されました。
これでライティングが完了しました。
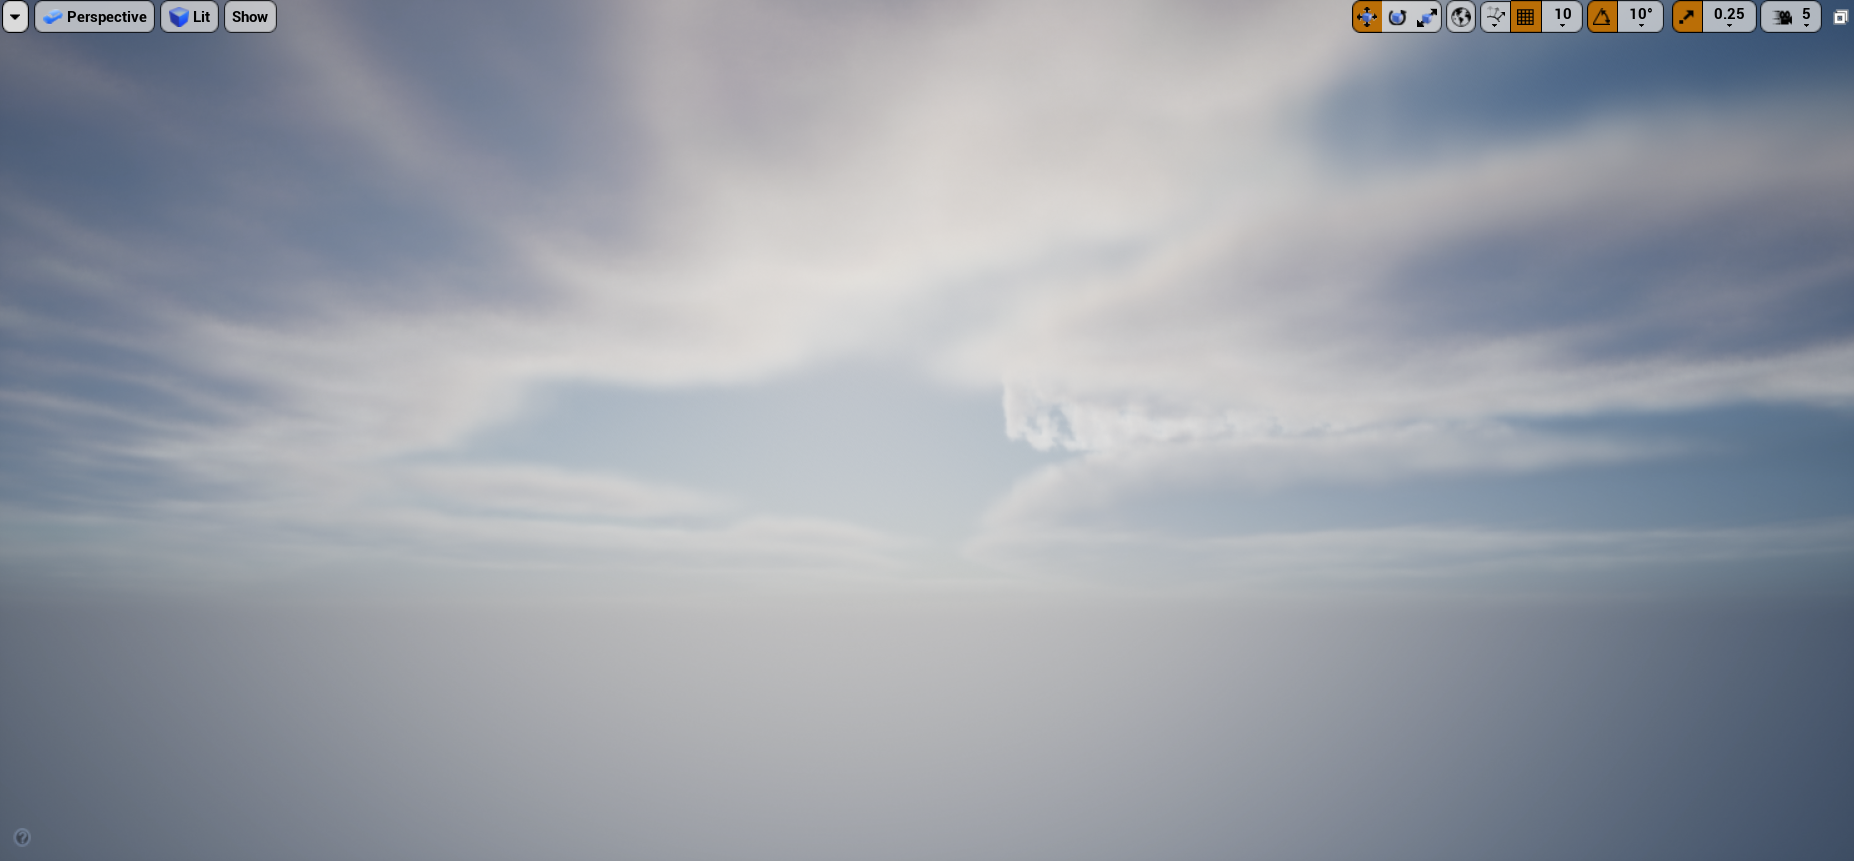
次はVolumetric Cloudを配置しましょう。
・プラグイン有効
Edit>Plugins
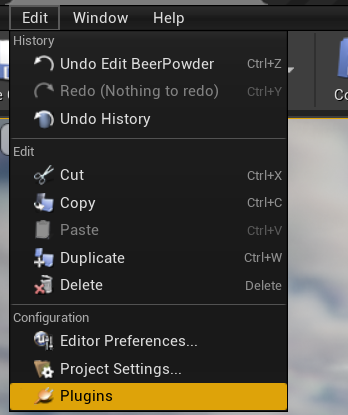
Volumetricsを有効にし再起動。

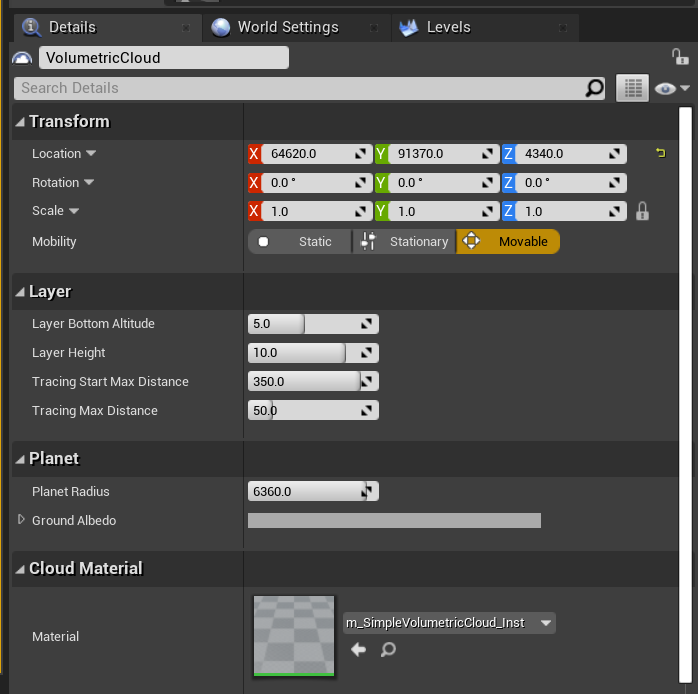
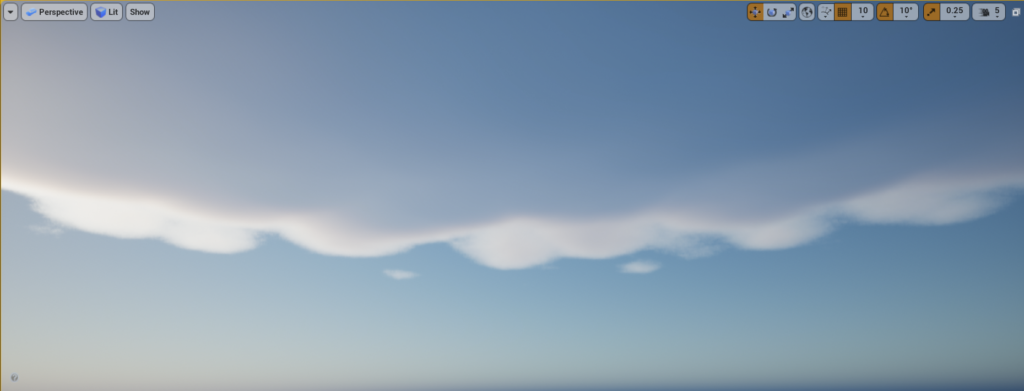
・Place ActorsからVolumetric Cloudを追加。

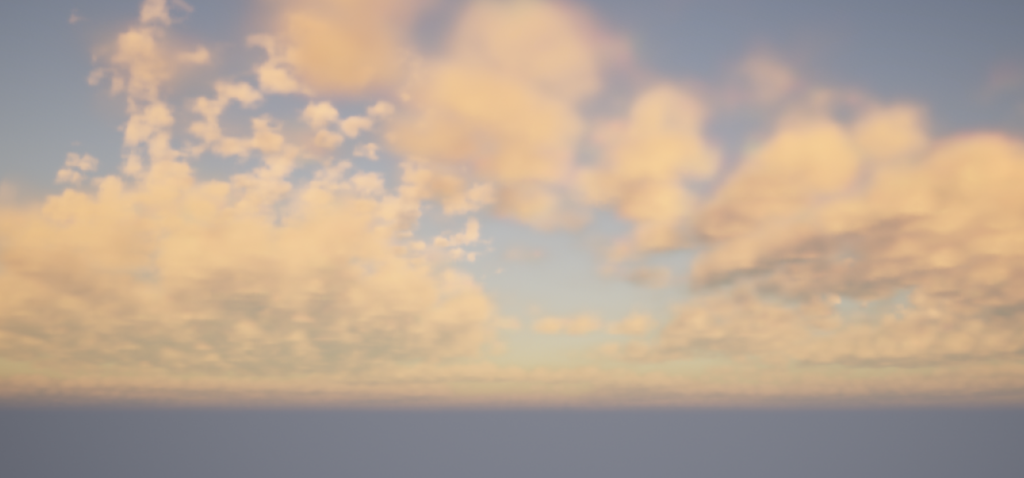
雲が追加されました。

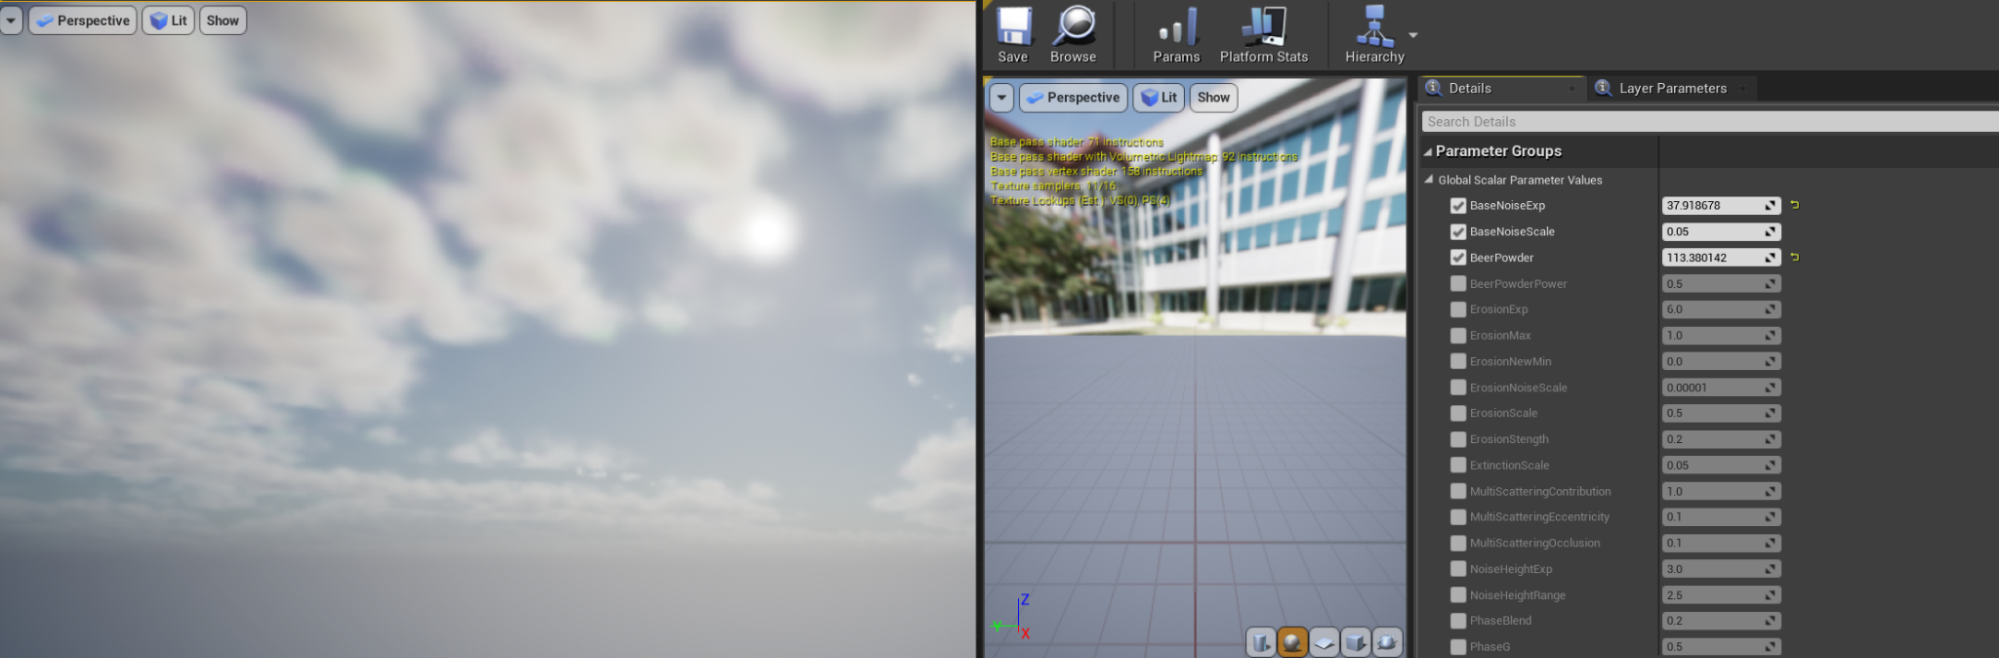
・雲のマテリアルを変化
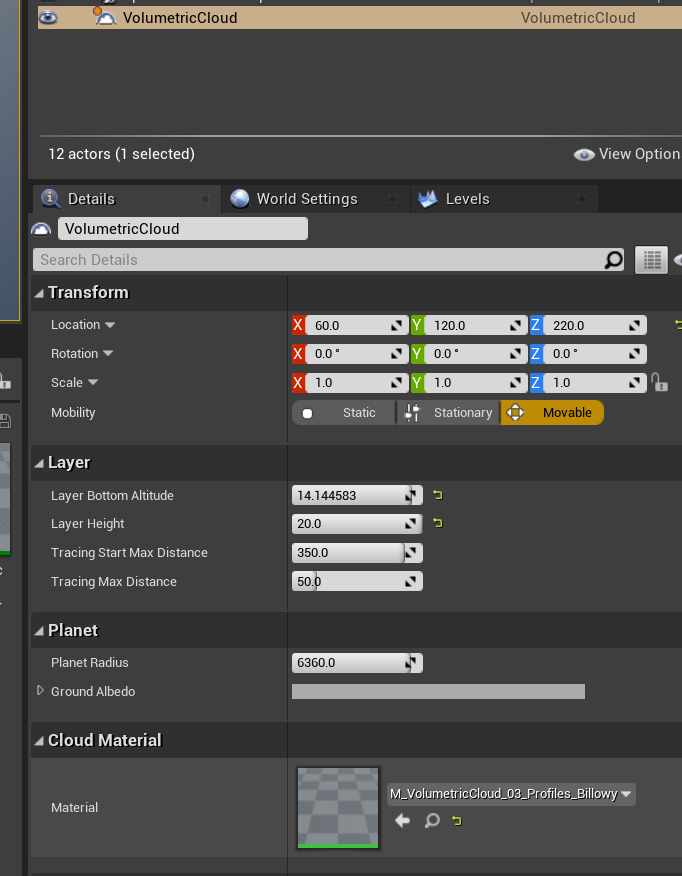
Volumetric Cloudを選択してMaterialから
雲の形状も変えることが可能です。
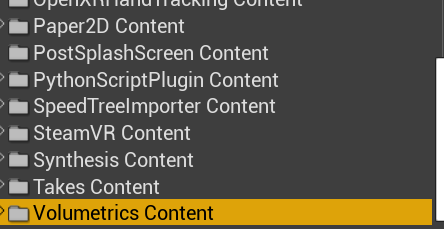
・さらに細かくシーンに合わせ雲をつくりたい場合
コンテンツブラウザー右下から
ShowEngineContent 有効
EngineContentのフォルダが表示されるようになります。

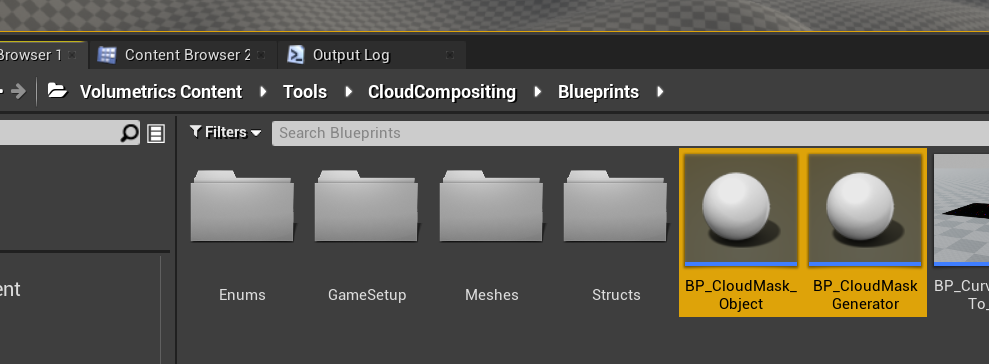
・Volumetrics Contentのフォルダ
Volumetrics Content>Tools>CloudCompositing>Blueprints
にある、2つのBPを置きます。
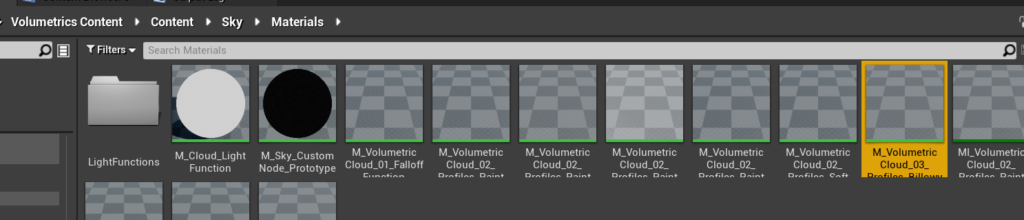
・雲のマテリアル差し替え
Volumetrics Content>Content>Sky>Materials
にある_Profiles_Billowyのマテリアルからマテリアルインスタンスを作成。
VolumetricCloudのMaterialに割り当てます。
マテリアルを変更すると雲が消えました。
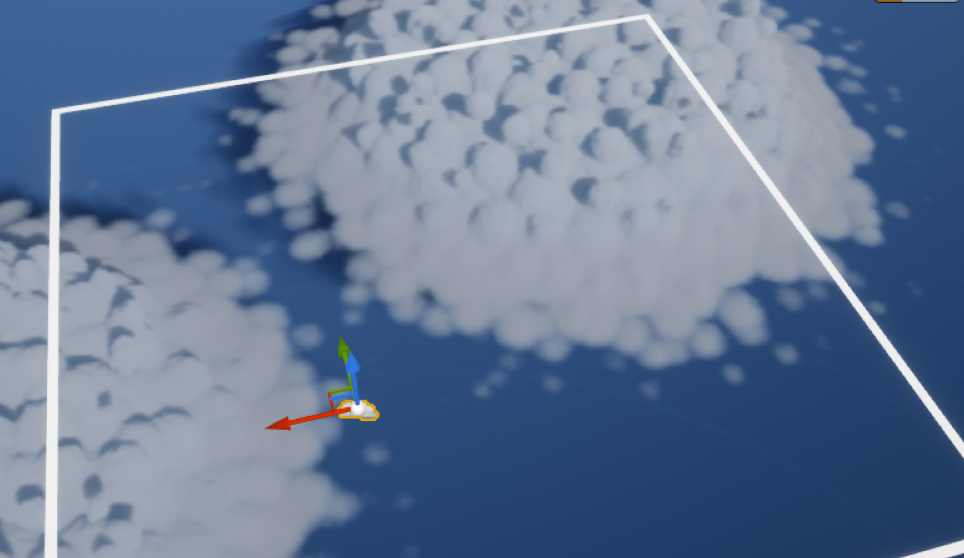
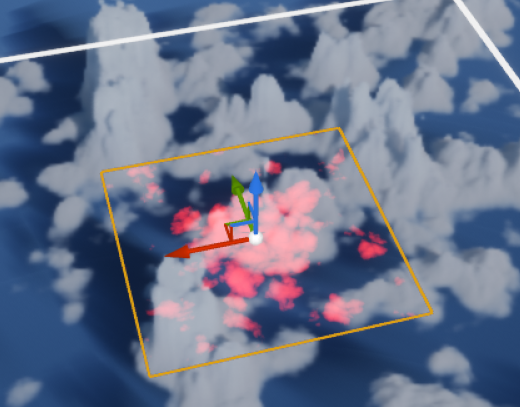
・雲の表示
BP_CloudMask_Objectをスケールで大きくすると
大きな丸い雲が出現します。
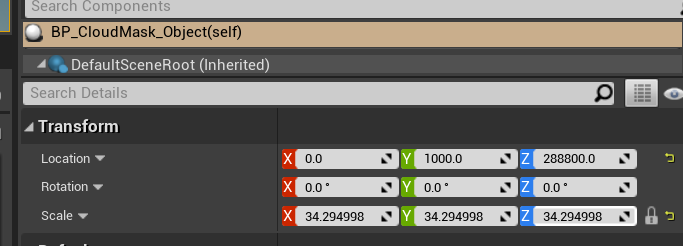
この雲はBP_CloudMask_Objectで移動、複製可能です。
コピーするにはBP_CloudMask_Objectのみ複製すればOK。
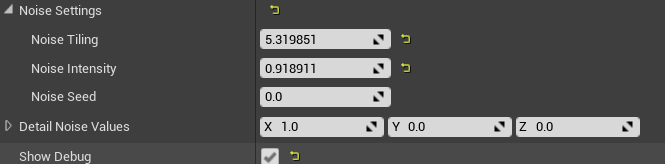
・雲の変形
BP_CloudMask_ObjectのNoise Settings
ノイズをいじれば
雲変形できます。
Show Debugで雲をつくるMask画像が赤く表示されます。
これらを組み合わせて自由に雲を配置していきましょう。


 [UE5]マテリアルのSDFとは?画像から考える距離場のしくみ
2025.12.03UE
[UE5]マテリアルのSDFとは?画像から考える距離場のしくみ
2025.12.03UE
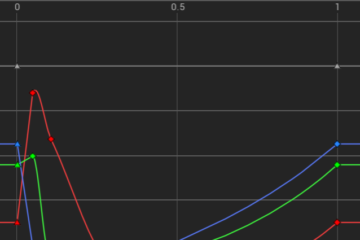
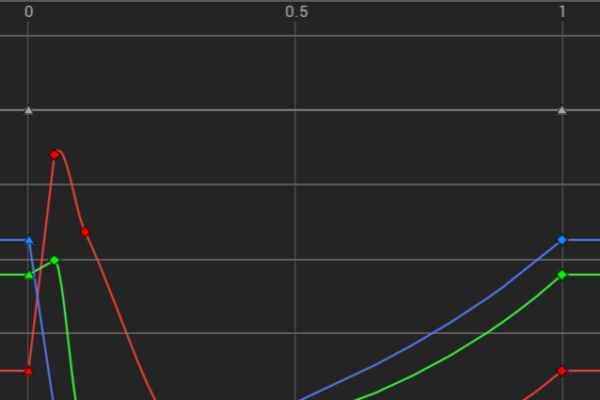 [UE5]Color CurveをMaterial Functionで設定するには
2025.04.09その他
[UE5]Color CurveをMaterial Functionで設定するには
2025.04.09その他
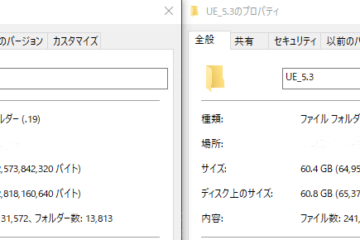
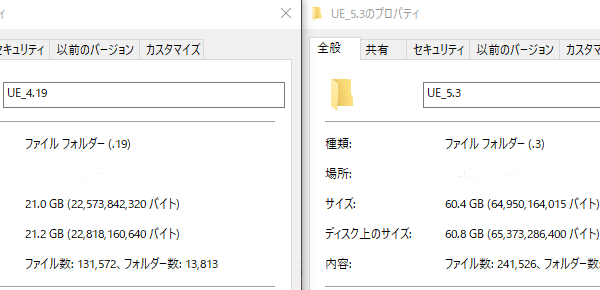 [UE4][UE5]開発環境の容量を少しでも減らす
2024.08.14UE
[UE4][UE5]開発環境の容量を少しでも減らす
2024.08.14UE